
Wardrobes: the DIY route
How to make IKEA PAX wardrobes look built in
Two things give a PAX wardrobe away as flat-pack: the gap between the top of the frames and the ceiling, and the gaps at the sides. Close both neatly and the run looks like one piece of furniture. The steps below follow the order we work in.
You can do this yourself if you can measure carefully and fix to a wall. We say where it gets hard, and when a fitter is worth calling.
Send photos of the wall, the ceiling height, your postcode and your IKEA planner link if you have one.
Rated 5.0 from 475 reviews on Taskrabbit, across all jobs, and 5.0 on Google from 8 reviews.
Measure the room before you pick the frames
Measure the ceiling height in several places, not one. Floors and ceilings are rarely level, and the lowest point sets the tallest frame you can use. Measure the wall width at floor, middle and ceiling height too, because walls lean.
Then check IKEA's limits for the frame you want. The UK page for the 236 cm frame gives a minimum ceiling height of 237 cm to build it upright, and 240 cm if you plan sliding doors. The frames fold out like a book and are built on the spot where they will stand, so there is no tilting a finished frame up into place.
Note the sockets, switches, radiators and door swings. They decide where fillers and doors can go.
Plan the layout on paper first
Frames come in set widths, so a run rarely matches the wall exactly. Whatever width is left over has to be taken up by fillers or trims. Work out how much that is before you order, and decide how it splits between the two ends.
Decide on hinged or sliding doors now. Sliding doors need no space to open, which helps in a narrow room. Hinged doors give you the whole wardrobe at once, and need clear floor in front.
Level and fix the frames
Each frame has adjustable feet to make up for an uneven floor. Set them with a spirit level front to back and side to side, then check the frames are level with each other before you fix anything.
Every tall frame has to be fixed to the wall. IKEA supplies two fittings, one for fixing with the skirting board in place and one without, so decide which you want before you start trimming. The fixing must suit the wall. Plugs and screws suit solid brick and block, while plasterboard needs a load-spreading fixing or a screw that finds a stud. Check for pipes and cables before you drill.
Close the gap above
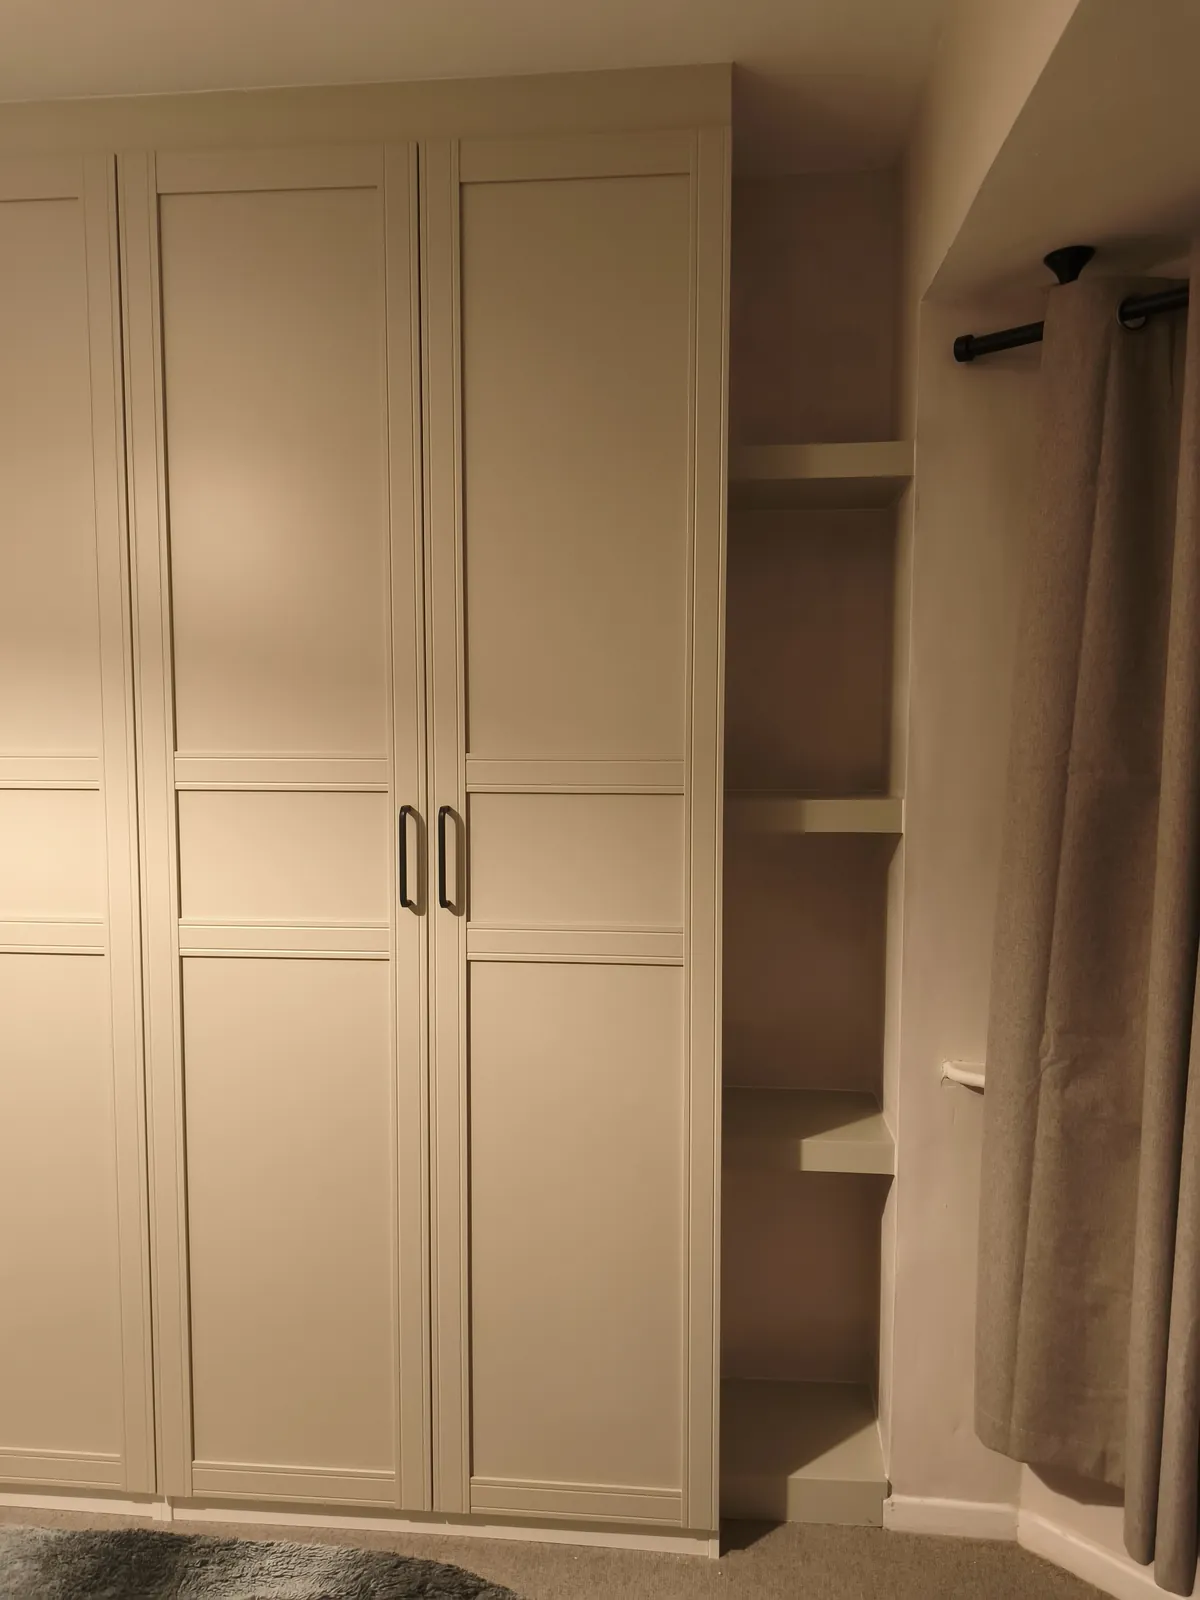
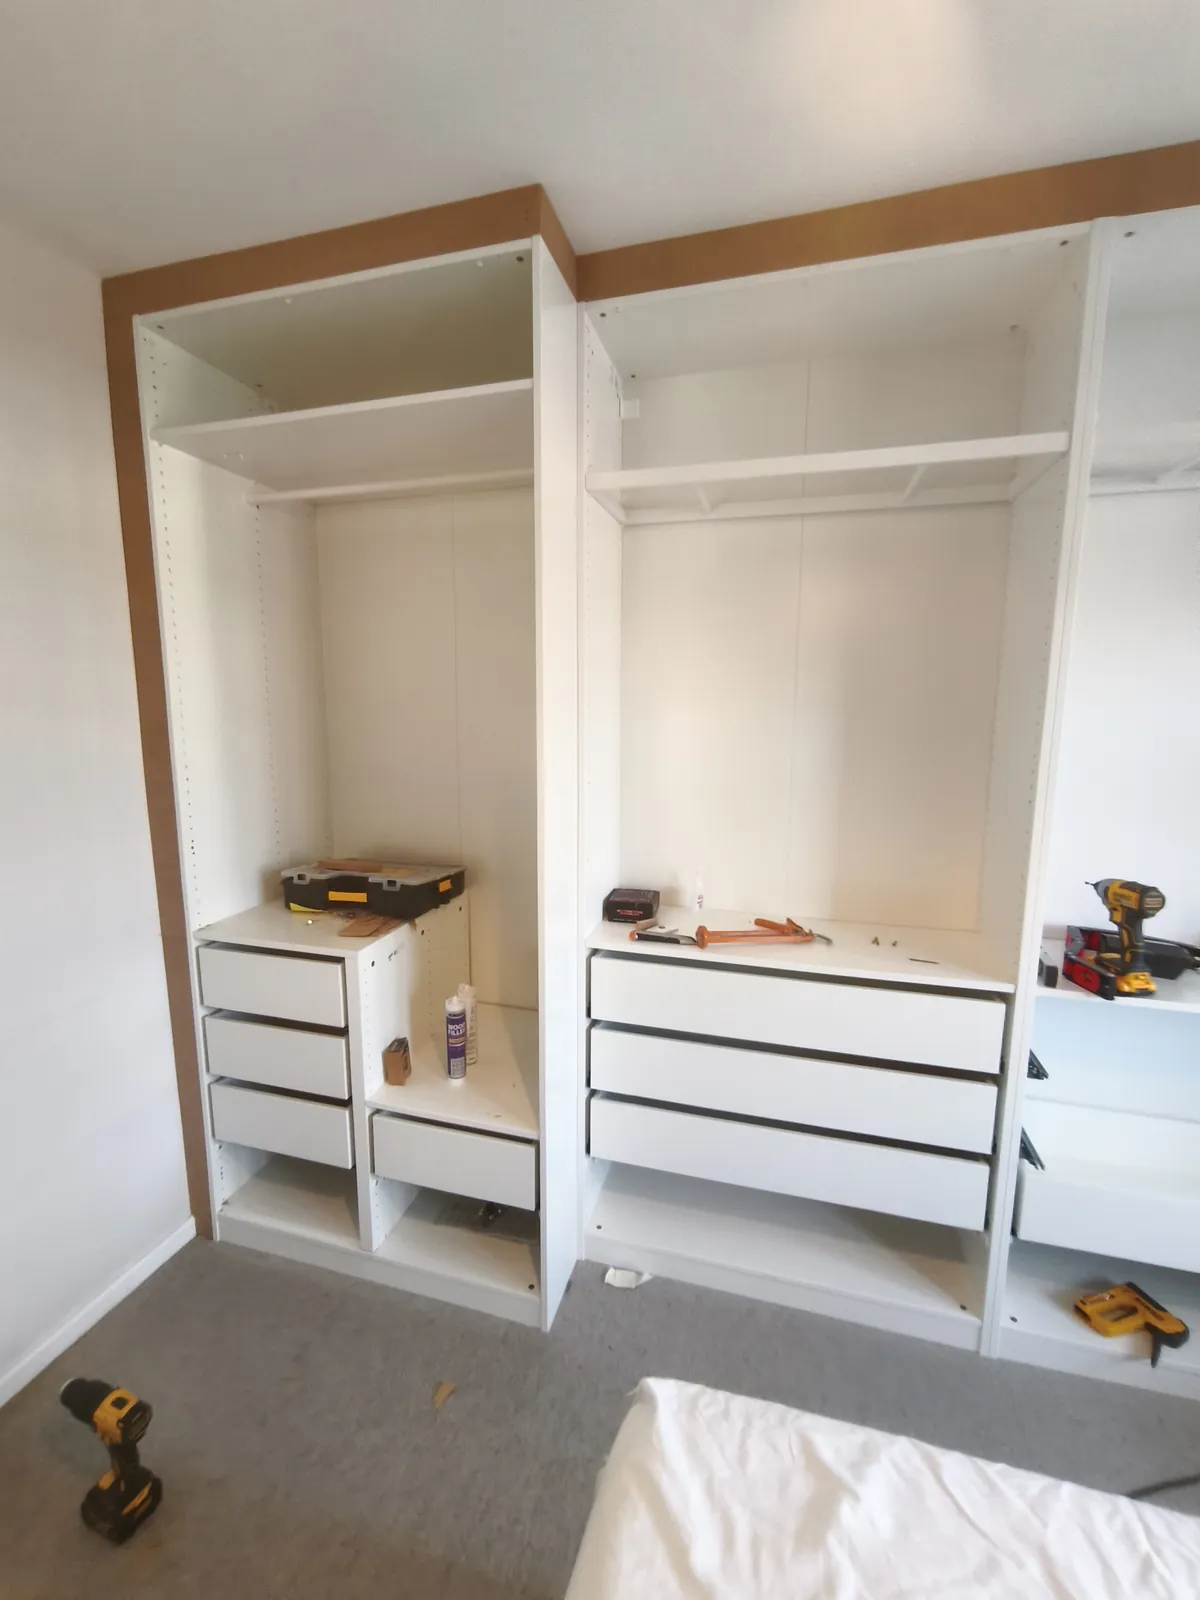
A PAX frame stops short of most ceilings, whichever height you choose. Close the gap with a filler panel across the top, or build a box-out: a simple timber frame covered in board that runs from the top of the wardrobe to the ceiling.
Ceilings are not straight, so a panel cut dead straight leaves a gap somewhere. Scribe it instead. Hold the panel against the wall just below the ceiling, set a pair of compasses to the widest gap, and run the point along the ceiling so the pencil marks the line on the panel. Cut to that line. Do the same at the sides, where walls are out of square. A hairline that remains takes decorator's caulk and a coat of paint.
Matching paint to a factory door finish is hard. Test a patch in daylight before you paint the whole box-out.
Hang the doors last
Hinged doors go on once the frames are level and fixed, then get adjusted until the gaps between them are even. Adjustment cannot make up for a frame that leans. Sliding doors run in a track, so they need the frames level and square.
If you want light inside, plan where the power comes from before you close the box-out. Anything that needs a new socket or wiring is work for a registered electrician.
When a fitter is worth calling
Some rooms are harder than they look. Call someone if any of these apply:
- The ceiling is close to the frame height, or varies a lot across the room.
- The ceiling slopes. The frames are rectangular, so a roof line leaves awkward triangles.
- You are not sure what the wall is made of.
- You want internal lighting.
Check the design before you order
A design that works on screen can fail in the room: a ceiling too low for the tall frame, or a door that swings into the radiator.
Send us your planner link and photos of the room on WhatsApp and we will check the design against the ceiling, skirting, sockets and door swings. See IKEA PAX wardrobe fitting for how a job runs, or flat-pack assembly if you only need the units built and fixed.
Quick questions
How do you cover the gap between PAX and the ceiling?
With a filler panel across the top, or a timber box-out covered in board. Cut it to follow the ceiling line, then caulk and paint it.
What ceiling height do I need for the tallest PAX frame?
IKEA's UK page for the 236 cm frame gives a minimum of 237 cm to build it upright, or 240 cm with sliding doors. Figures differ by frame, so check the page for the one you are buying.
Does IKEA's assembly service make PAX look built in?
It covers putting the furniture together. Closing the gaps with fillers and trims, which is what makes it look built in, is a separate step.
Send us the job, get a price
Message photos, rough measurements and your postcode. We aim to reply with a price the same day.
Related services
IKEA PAX wardrobes
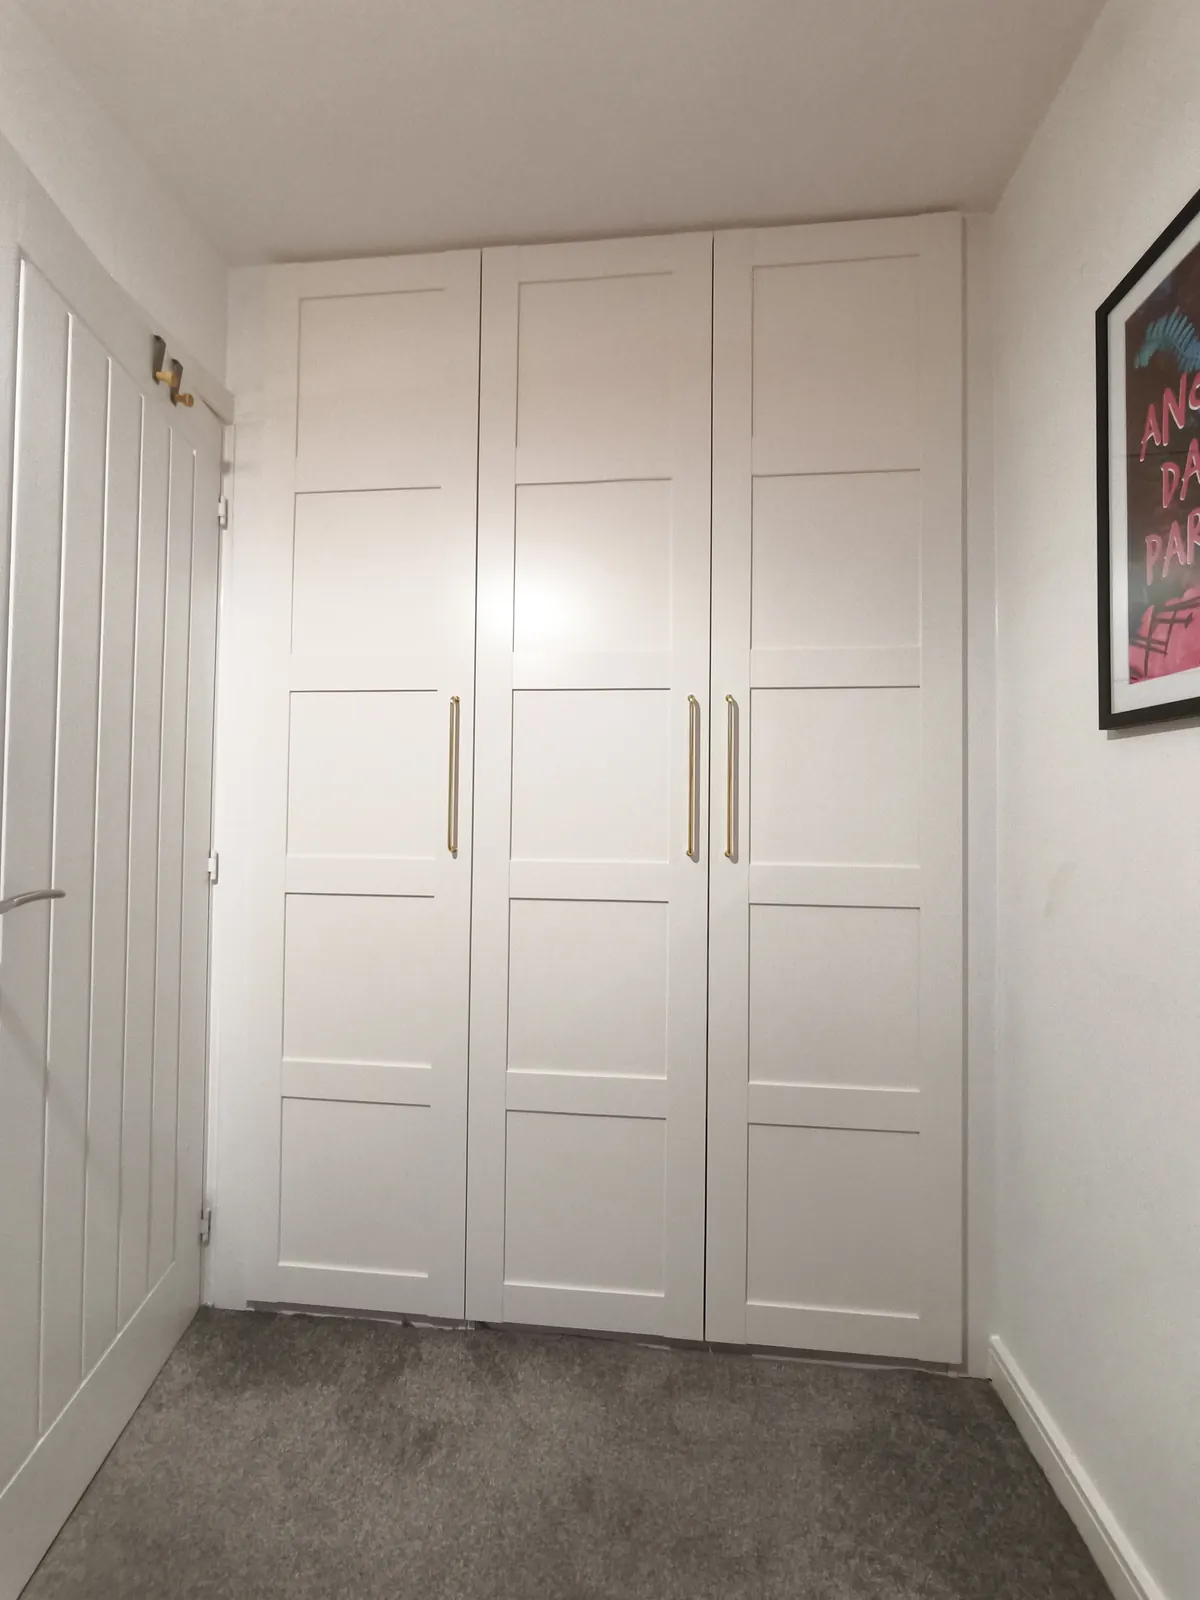
IKEA PAX wardrobes fitted to look built in: tight to the walls and ceiling, with trims, filler panels and neat finishing.
Read more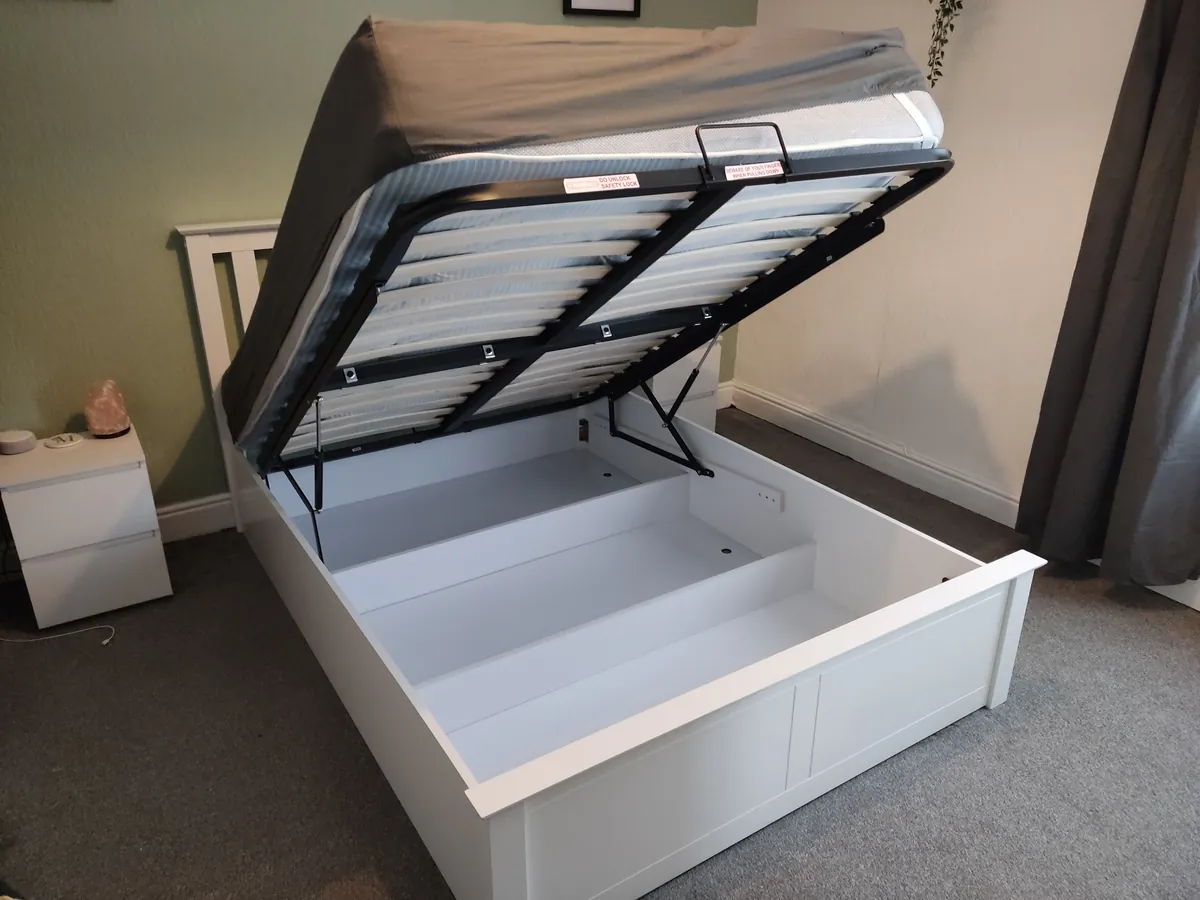
IKEA & flat-pack assembly
Wardrobes, beds, desks, drawers and storage assembled properly and secured to the wall where needed.
Read more